
In my previous post Step-by-step VMware Cloud Foundation 4.3 design and install VRLCM we have completed deployment of VMware vRealize lifecycle manager, as explained in my previous post in order to install vRealize components in a VMware cloud foundation environment we need vRLCM.
If you go to vRealize tab on SDDC manager before installing vRLCM you will get a clear message as in you need to deploy it before you can deploy other vRealize suite products.
As shown in the image below. Once vRLCM is deployed we start vRealize suite deployment with workspace one access.

What is Workspace One Access?
VMware workspace one access is a vRealize suite product, which was formally known as VMware identity manager.
VMware Workspace ONE Access delivers multifactor authentication (MFA), conditional access and single sign-on (SSO) for applications delivered by VMware Workspace ONE. By acting as a broker to other identity stores and providers, Workspace ONE Access enables organizations to quickly and more securely implement application and device strategies that deliver consistent, enterprise-wide access to applications and data from any device in any location. source:vmware.com
In simple words its the identity and access management product from VMware.
Key Features
- Access broker – Integrates with existing on-premises and cloud identity providers to reduce deployment times and enable more secure access to any application while improving user experience.
- Adaptive MFA and SSO – Provides native MFA or integrates with exiting MFA providers, and delivers SSO to web, SaaS, mobile and legacy apps through integration with Workspace ONE Intelligent Hub.
- Risk-based conditional access – Uses dozens of access policy combinations that leverage device enrollment, network, SSO, automated device remediation and thirdparty information to establish levels of trust, enabling intelligent access decisions.
- Cloud-hosted option – Dramatically reduces implementation time and maintenance overhead.
- Smarter digital workspace – Unlocks new Workspace ONE features and capabilities, including Workspace ONE Hub Services and Workspace ONE Intelligence, on day one without scheduling and prioritizing upgrade cycles.
Watch deployment video
How to deploy VMware Workspace one access?
1) As we know what is VMware workspace one access, we are ready for the the installation of vRealize suite, in order to install WSA we will login to SDDC manager.

2) Now navigate to workload domain and select management workload domain.

3) Under services tab and select vrlcm.

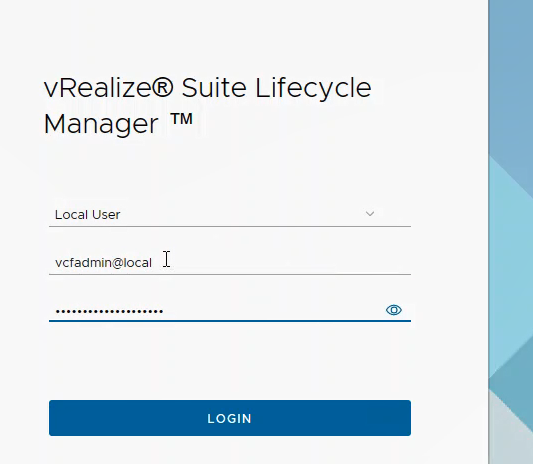
4) Login to vrlcm with vcfadmin@local account.
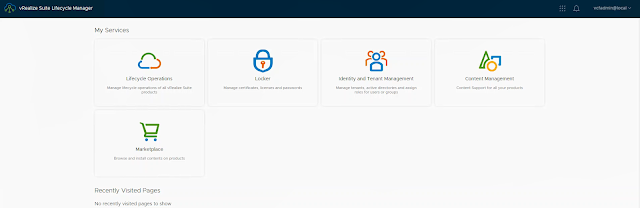
5) After successful login, you will be presented with My Services screen. Please click on Locker tile.
6) Now first thing we do is to generate or import certificate. As I am not using third party certificate I will generate but if you have a third party of CA issued cert then this where you will import it. To generate cert choose Generate option, for importing CA cert use import option and for generating CSR for certificate request use generate CSR option. I am going with Generate option.

7) Fil l in all details for the certificate, I have only used FQDN however I would suggest using hostname as well as FQDN for server domain/hostname field.

8) Click generate.

9) Once certificate is generated or imported, its time we create default passwords. Navigate to password tab on the left hand menu. click on ADD button.

10) Add password for Global admin and config admin.


11) Now you should have passwords ready for the deployment.

12) Now click on vRealize suite lifecycle manager on left hand top corner. Which will take you back to my services screen.

13) Now select lifecycle Operations.

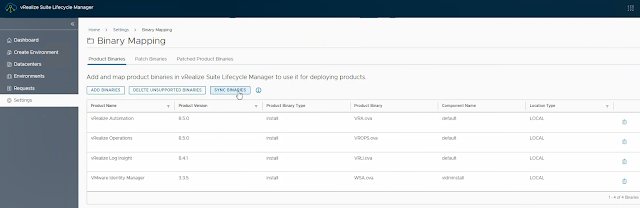
14) Once you are in lifecycle operations, navigate to settings and click on binary mappings.

15) Under binary mappings sync binaries from SDDC manager.
16) After successful sync, navigate to Create environment tab.

17) Under create environment option you need to choose to enable Install identity manager radio button.

18) Now click on select default password.

19) Select admin password from the list.

20) Select datacenter and check/uncheck CEIP and click next.

21) Select product which needs to be deployed, I am going to use standard deployment model, however in a production environment based on design decisions you should deploy cluster model. In standard mode only 1 appliance will be deployed and in cluster mode 3 appliances will be deployed. After choosing deployment type click on next.


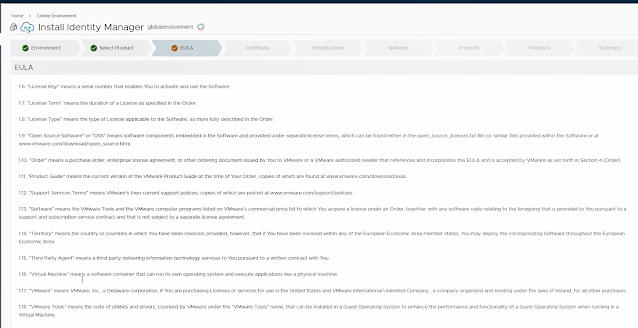
22) Now accept EULA.
23) Select certificate which we created earlier in the post from the list.

24) Review infrastructure details and click next.

25) Review network details and click next.

26) In products tab, fill in wsa node size and configadmin password, scroll down.

27) As I am deploying it in standard mode, I have only one appliance which will be deployed, however in cluster mode you need to provide details for all three appliances. VM name is needed for vSphere inventory, where in FQDN is the actual name of the appliance.

28) Once all information is populated click next and run pre-checks under precheck tab.

29) Once all pre-checks are complete, click next.

30) Now submit the task.

31) Once you sumit the task, you can review progress using requests tab.

32) After successful completion of all stages, you will see Workspace ONE Access listed under services of management workload domain.

In my next post Step-by-step VMware Cloud Foundation 4.3 design and install vROPS I will share steps to deploy vRealize operations manager in a vmware cloud foundation environment.


Hello. Thank you for this write up. I am deploying VCF 4.5 and have not been able to figure out how to syn binaries from SDDC. Your blog and the VxRail documentation are the only references to the "Sync Binaries" button in LCM.
ReplyDeleteWhen I navigate to Binary Mapping, I have the "Add Binaries" and "Delete Unsupported Binaries" buttons but no "Sync Binaries" button.
I have verified connectivity with SDDC, made sure there's no time skew, restarted services, etc. but still no "Sync Binaries" button.
Any ideas?
Dear Jason,
DeleteI understand your concern and you are right sync binary tab is no more there. The reason behind it is that vRealize suite is decoupled from the VCF BOM and can be managed directly/independently thru lifecycle manager. Now in order to download the binaries you follow the same process which one follows for standalone LCM deployment.
In case you do not have internet then, download the binaries of respective product you wish to deploy and copy the file to /data folder. Now go back to binaries option and select add binaries>>location local>>enter path /data in location and discover.
Post that you should be able to deploy the solution.
I hope it helps.